DSI2 Reconstruction
DSI Studio
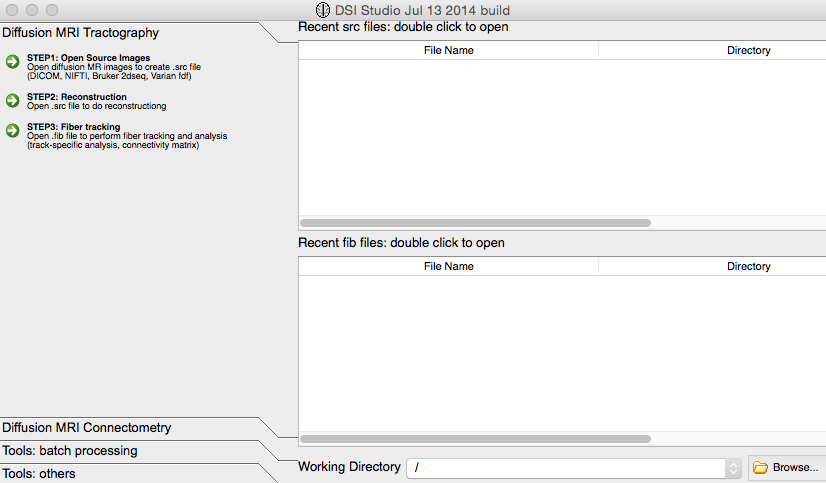
Step 1
Click the “Step 1: Open Source Images” at the upper left of the screen:
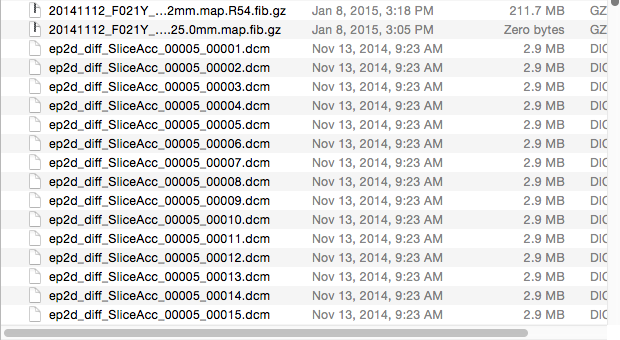
Go into your folder with your subject’s ”.dcm” files:
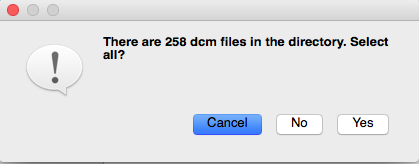
After selecting an MR image file in the desired subject folder, click “yes” if the following screen pops up:
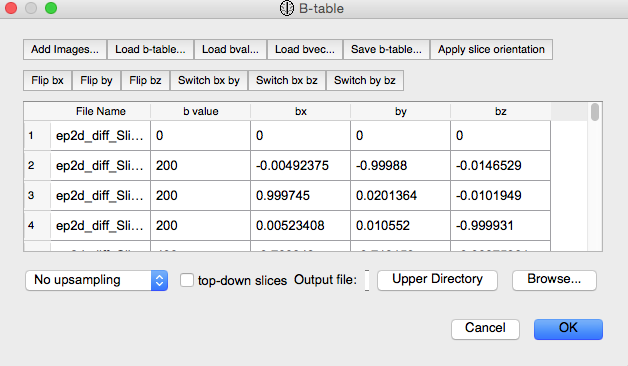
Click “OK” on the following “B-table” screen:
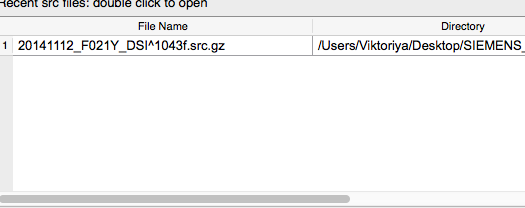
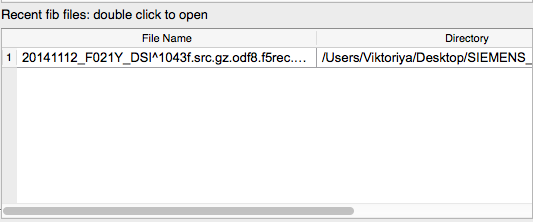
Double click the src file in the top screen:
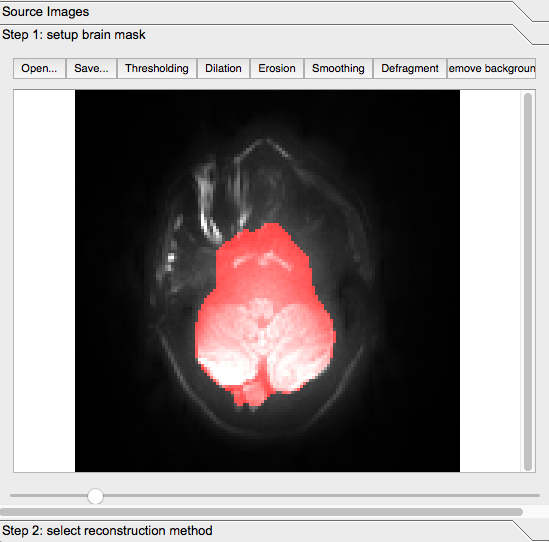
Note: At this point, if you scroll down in the brain, you will notice that some of the highlighted area is not actual brain matter.
For example, some of the highlighted section below is the subject’s tongue:
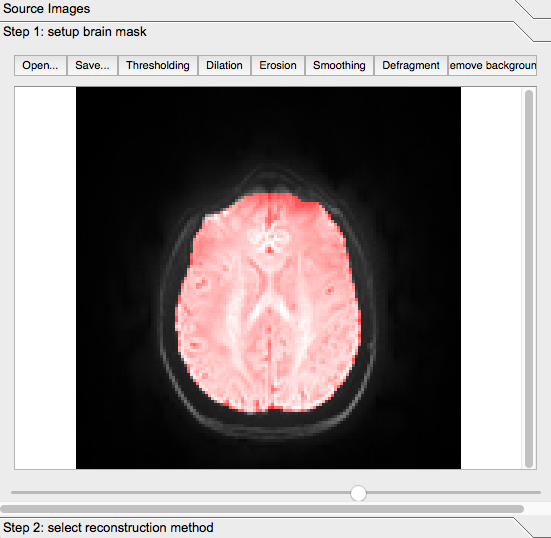
Yet, most of what is highlighted is in fact the brain:
At the bottom of the “Reconstruction” screen displayed above, click “Step 2: select reconstruction method.”
Step 2
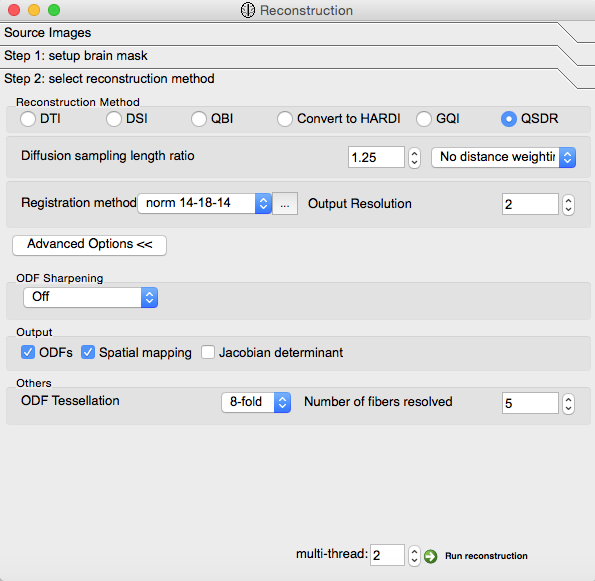
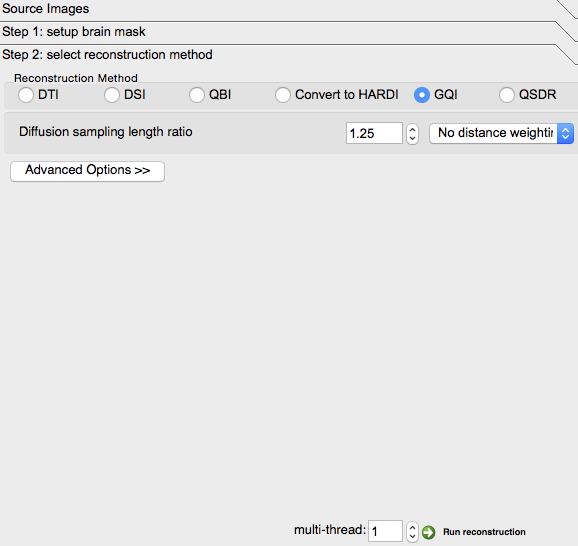
Check “QSDR” under “Reconstruction Method”
Change “1” to “2” in the “Output Resolution” box
- Click “Advanced Options”:
- Check “ODFs” and “Spatial Mapping” under “Output”
Depending on how you collectd the data, some older versions of DSI Studio may let you check “Half-sphere scheme” under “Others”
Finally, click the “Run Reconstruction” button at the lower right
Reconstruction
Double click the new “fib” file created in the bottom screen:
Under “Tracking” in the Options box to the right:
- Change “5000” in “Terminate if” to “100000”
- Change “Seeds” to “Tracts”
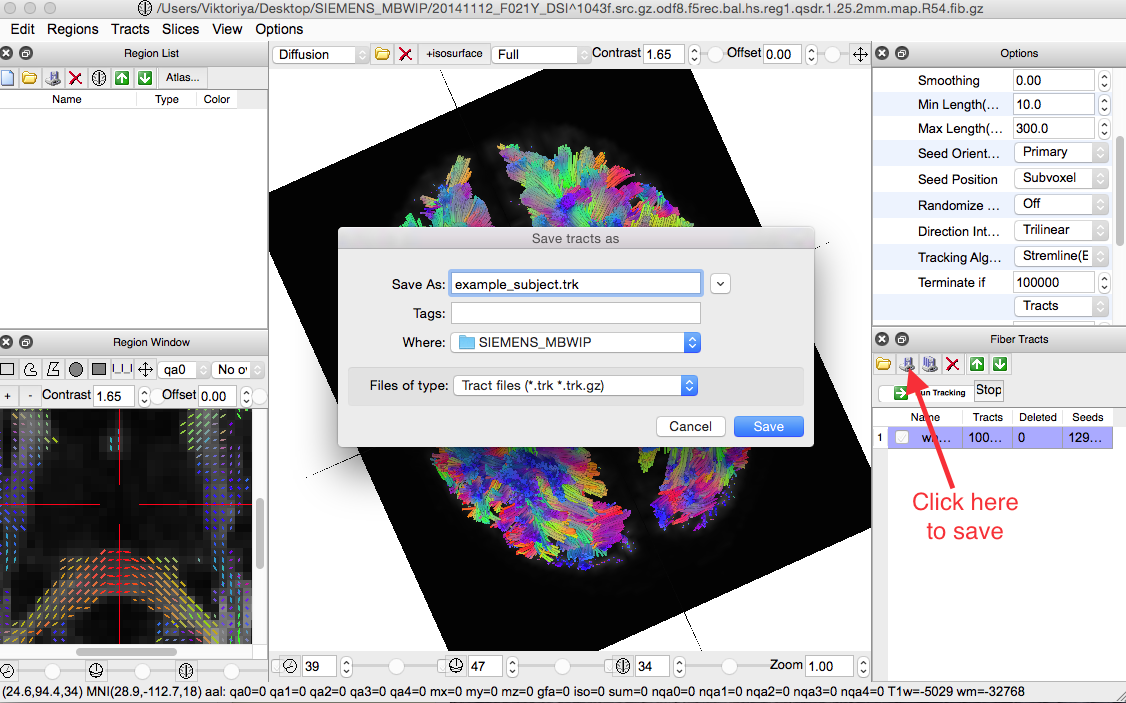
Click “Run Tracking” under “Fiber Tracts” box

After Tracking, make sure to save the file by clicking on the icon shown in the screenshot below:
Note: Save file as ”.trk”
Step 3
From command line:
$ dsi_studio --action=exp --source=/PATH/TO/example.src.gz --export=image0
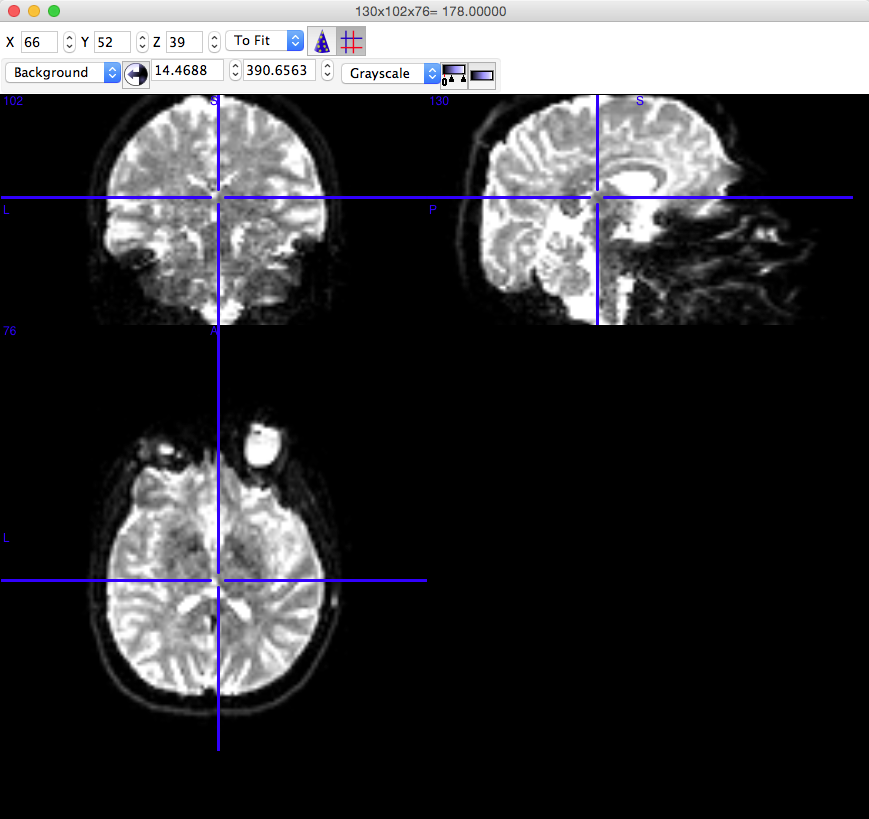
Open the newly created “-.image0.nii.gz” file in Mricron (or other Nifty Viewer) and make sure that the image looks something like this:
Note: The white space is mainly CSF - absent of brain matter.
Step 4: Free Surfer
Running FreeSurfer
Make sure you’ve sourced your setupfreesurfer.sh file Make sure your environment variable for SUBJECTS_DIR is set to your desired location
$ export SUBJECTS_DIR=/Users/Viktoriya/Desktop/subjects
Next step will take input data and copy it into SUBJECTS_DIR
$ recon-all \
  ... -s example_data \
  ... -i /Users/Viktoriya/Desktop/subjects/example_MPRAGE.nii.gz \
  ... -T2 /Users/Viktoriya/Desktop/subjects/example_t2wspace.nii.gz
Now run the FreeSurfer reconstruction pipeline
$ recon-all -s example_data -all
Step 5: Easy Lausanne
Run Easy Lausanne to generate the Lausanne 2008 atlases.
Enter the following code into your terminal, making sure to change the “subject_num” to your subject’s id and “PATH/TO/...” to your corresponding path:
$ export SUBJECTS_DIR=PATH/TO/your_freesurfer_subjects_dir
$ easy_lausanne \
 --target_type diffusion \
 --subject_id subject_num \
 --target_volume /PATH/TO/example.src.gz.image0.nii.gz \
 --output_dir /PATH/TO/output_dir
Step 6: Checking Registration
From command line:
$ export SUBJECTS_DIR=PATH/TO/your_freesurfer_subjects_dir
$ tkregister2 --mov /PATH/TO/example.src.gz.image0.nii.gz \
--reg /PATH/TO/output_dir/b0-TO-orig.dat --surf
The command will take you to the tkregister2 program:
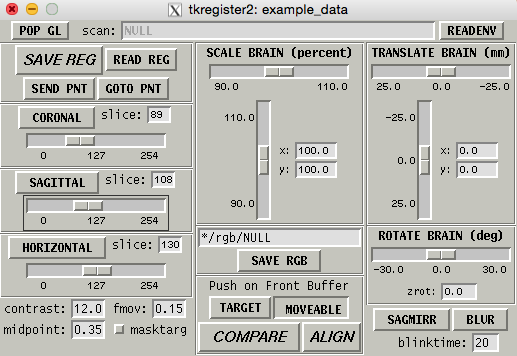
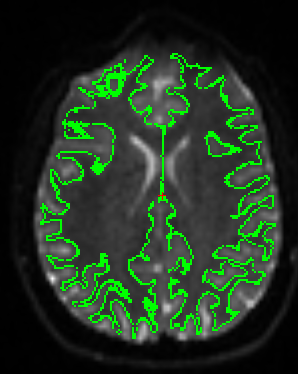
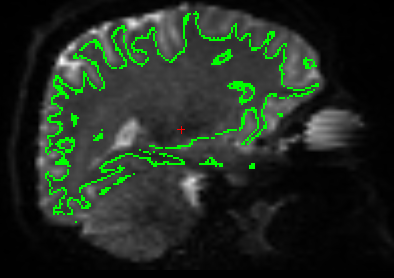
Make sure that the brain image looks similar to the following:
CORONAL:
SAGITTAL:
HORIZONTAL:

NOTE - IF EVERYTHING LOOKS GOOD, MOVE ON TO STEP 7. IF REGISTRATION FAILS, DO THE FOLLOWING:
- Return to Step 2 (see above) using dsi_studio
- Double click the -src.gz file that was previously created for the file that had registration fail
- Check “GQI” under “Reconstruction Method”
- Click the “Run Reconstruction” button at the lower right
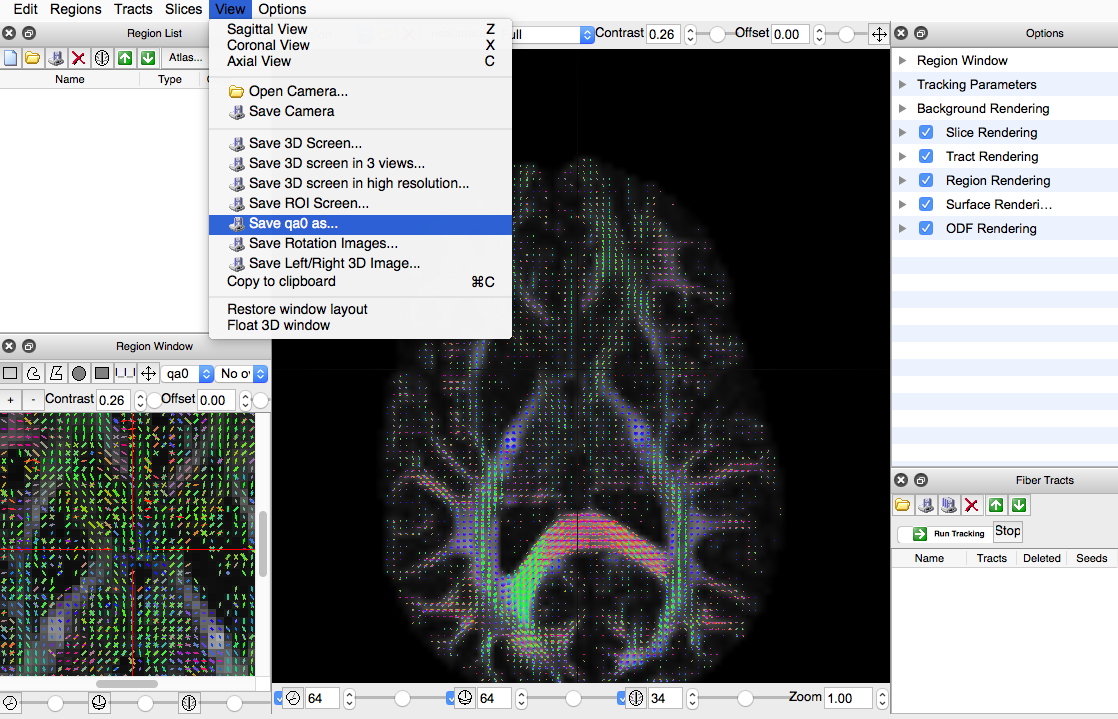
- Double click the new “fib” file created in the bottom screen
- Under “View” in the upper left, click “Save qao as...”
- Save new file as -.nii.gz
Next, you will run a slightly different code for Easy Lausanne for the file that previously failed registration:
Enter the following code into your terminal, making sure to change the “subject_num” to your subject’s id and “PATH/TO/...” to your corresponding path:
$ export SUBJECTS_DIR=PATH/TO/your_freesurfer_subjects_dir
$ easy_lausanne \
 --target_type anisotropy \
 --subject_id subject_num \
 --target_volume /PATH/TO/new_QAO_file.nii.gz \
 --output_dir /PATH/TO/output_dir
CHECK REGISTRATION:
From command line:
$ export SUBJECTS_DIR=PATH/TO/your_freesurfer_subjects_dir
$ tkregister2 --mov /PATH/TO/new_QAO_file.nii.gz \
--reg /PATH/TO/output_dir/b0-TO-orig.dat --surf
STEP 7: Dilate your images by 1 voxel
Enter the following code into your terminal (in the directory in which you would like to save your new dilated file) for every “ROIv_scale...” file in your output_dir.
Example:
$ atlas_dilate /PATH/TO/ROIv_scale60.nii.gz \
 /PATH/TO/ROIv_scale60_thickened.nii.gz
STEP 8: Comparing your files
In order to check that your labels are correct, compare the images of the original ROIv files with the new dilated ones.
To do so, cd into your output directory and open “fslview”:
$ cd /PATH/TO/output_dir/
$ fslview
Next, open your “-image0.nii.gz” file in the FSLview program:

- Go to “File” - “Add...”
Choose an “ROIv_scale..” file from your output_dir
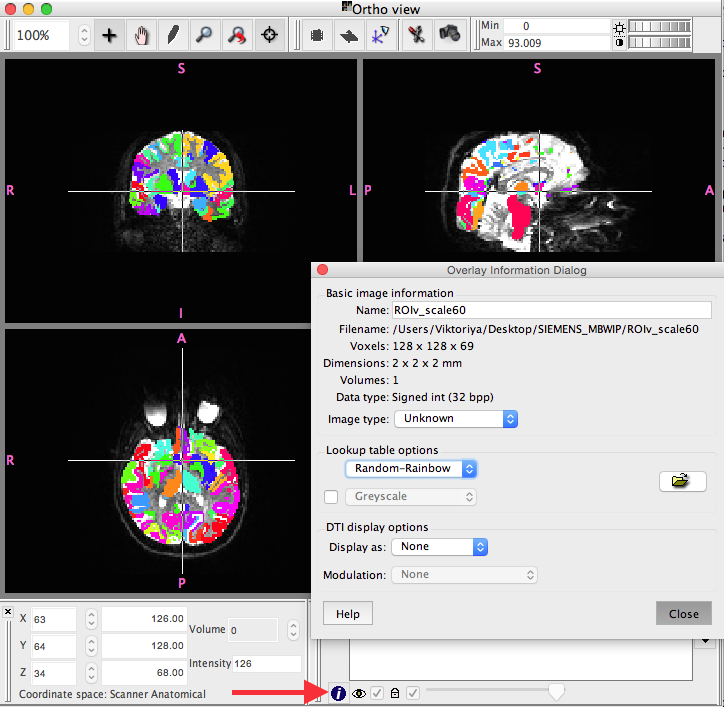
Click the “i” at the bottom of the screen (shown below)
- Under “Lookup table options”:
- choose “Random-Rainbow”
Click “Close” and double check that everything looks in order
“Add...” every “ROIv_scale...” file
“Add...” the new “ROIvscale..._thickened.nii.gz” files and compare the images.
Make sure to change “Lookup table options” to “Random-Rainbow” for every file you open.
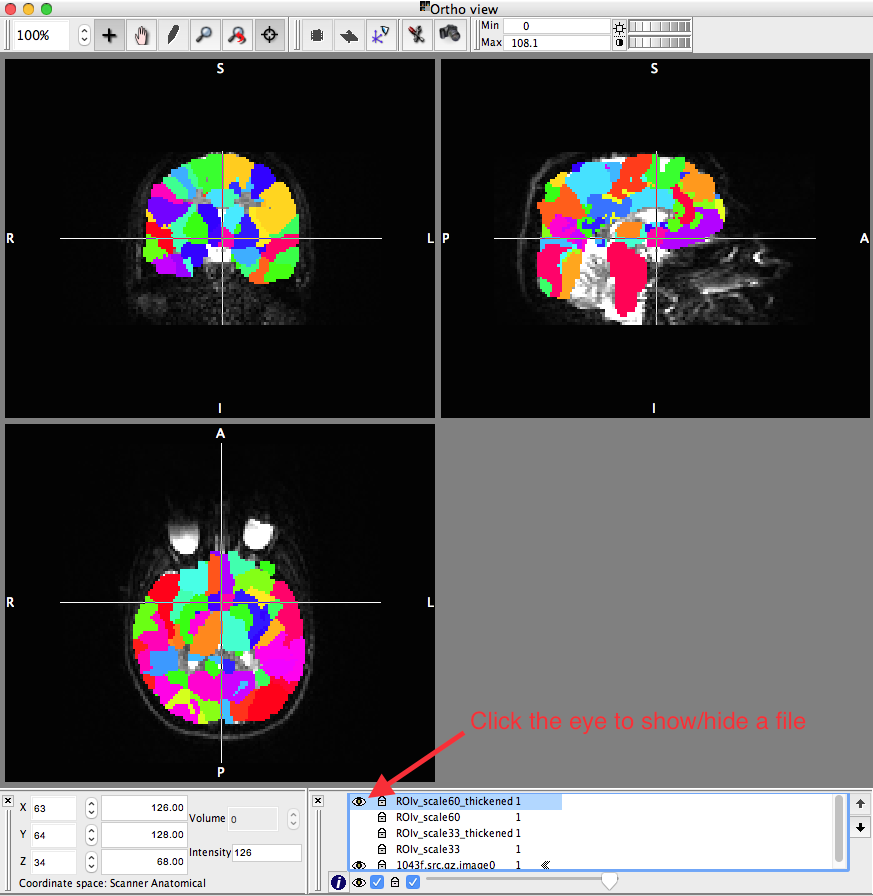
Note: You can “Add...” multiple files to the fslview program and use the eye (shown above) to show/hide each file. You want to keep the “-image0.nii.gz” file shown throughout.